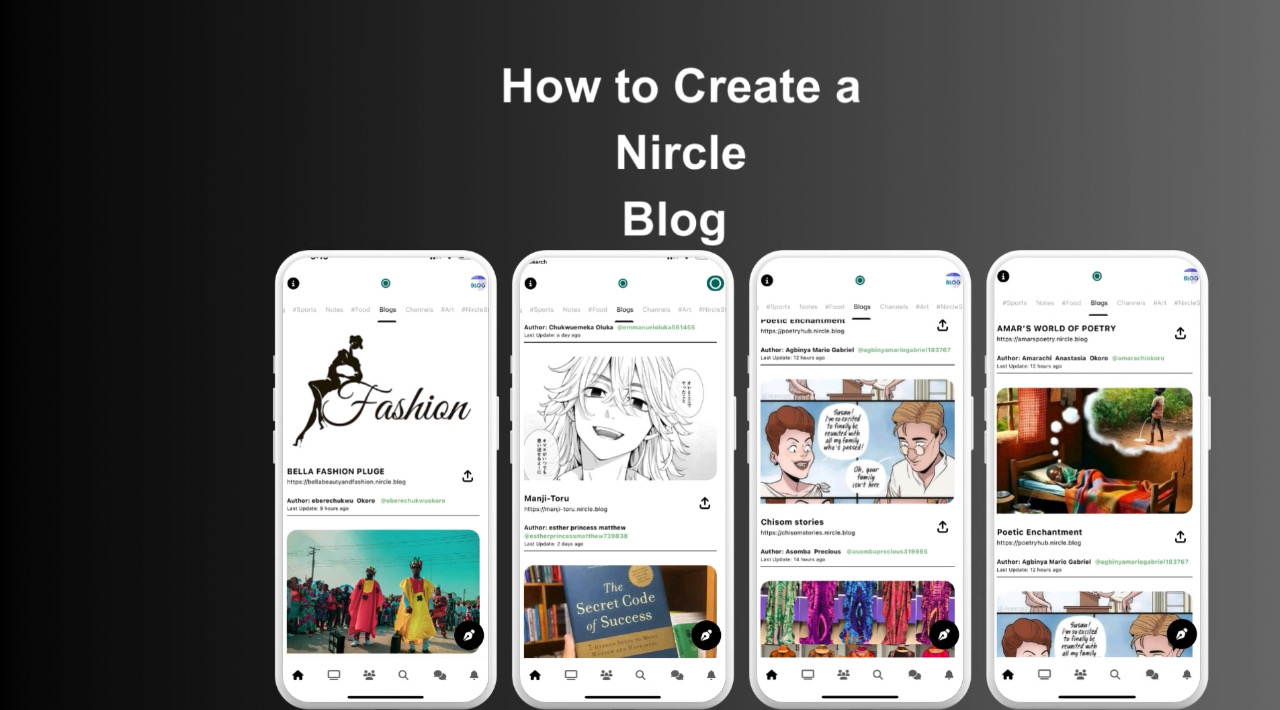

How to Create a Nircle Blog
Nircle Blog@nircle.blog
1 year ago
Video: How to Set Up and Create Your First Blog on Nircle
Today, I'm going to walk you through the process of setting up your very own Nircle Blog. Whether you're using the app or the web version, the steps are pretty straightforward.
* Open Nircle and Sign In:
Open your Nircle via the app or web browser and sign in to your account.
Navigate to the creator dashboard]
Once signed in, tap on the creator bulb icon.
* Navigate to "Blog Hub":
* In the creator dashboard, find and tap on the "Blog Hub" icon.
* Here in the Blog Hub, you can create multiple blogs. Tap the plus button in the lower right.
* Choose a unique blog address, add a compelling cover, provide a description, and hit the create blog button.
Now that you've set up your blog, let's move on to creating your first blog post.
* Create Your First Blog Post:
* [Navigate to your newly created blog]
* Go to your new blog address; for example, mine is learningblog.nircle.blog.
* Since it's a new blog, you'll notice there are no posts yet. Let's change that by clicking on the plus button to create a new blog post.
*
* Using the Blog Editor: In the editor, craft an SEO-friendly title, add paragraphs, and include images as needed. Remember, using paragraphs helps space out your content, making it more reader-friendly.
*
* Save and Publish: After creating your blog post, save your work and hit the publish button.
And there you have it! You've successfully set up your Nircle Blog and created your first blog post. Now, head over to your blog to see the published post, and you're ready to share your thoughts with the world.
If you found this tutorial helpful, don't forget to give it a thumbs up and subscribe for more content. Happy blogging, everyone!
#Learning


